Windows can quickly clog up from junk files spread all over in the hard drive.
In your computer unorganized and uncleaned memory end up to accumulate digital garbage. The more you use your computer, the more junk it is likely to pile up. On slower drives such as traditional hard disk drives, junk files can slow down operating system functions to a substantial degree. So, cleaning up them frequently can help reclaim unnecessarily occupied space, as well as, improve performance. Windows have built-in tools in its ‘arsenal’ to remove most junk files, and if some of those are left untouched for you to choose whether to keep those – you can clean up manually. We’ll show you how.
With the passage of time your computer gets snowed under with junk files. These files, like junk food, occupy plenty of space in memory but don’t provide any benefits. Instead, it can render your system pretty slow and difficult to manage. On computers with feeble hard disk drives, you may run into insufficient storage and I/O speed issues.
Cleaning up trash can help you keep your files and folder organized, save a plenty of precious storage space, and improve system performance as your computer no longer has to cope with files that do nothing for you.
Different Types of Junk Files in a Windows Computer
By and large, all kinds of sources can create a junk file on your PC, from the leftover of uninstalled programs to a nicely looking wallpaper you downloaded several years ago but ultimately lost interest in it. Here are a few common types of junk files.
Files in the Recycle Bin
Discarded files in your Recycle Bin are deemed as unnecessary and remain not to be used anymore but kept in the folder. These files sometimes pile up to occupy huge space, for instance, in Gigabytes.
Windows Temporary Files
These are junk files whose use is temporary and they become redundant once the current task gets finished. These files are automatically deleted by Windows is sometimes dependent upon user’s choice and sometimes Windows itself.
Garbage Left-over by Windows and Third-Party Software
When you uninstall a program, sometimes, not all of the files associated with the software are deleted. These files not only take up substantial disk space but also likely to interrupt the execution of other programs in an inappropriate manner.
Downloads
Downloads folder usually takes a substantial amount of your storage space. Usually, it contains no-more-required installers, images, videos, text and other redundant documents that heap up over time.
Create a Restore Point Before You Clean Up Junk Files
System Restore feature in Windows systems allows you to undo system changes by safely reverting your computer to a previous restore point. It is useful in case you delete a critical system file and stumble across issues like OS crash.
Empty the Recycle Bin
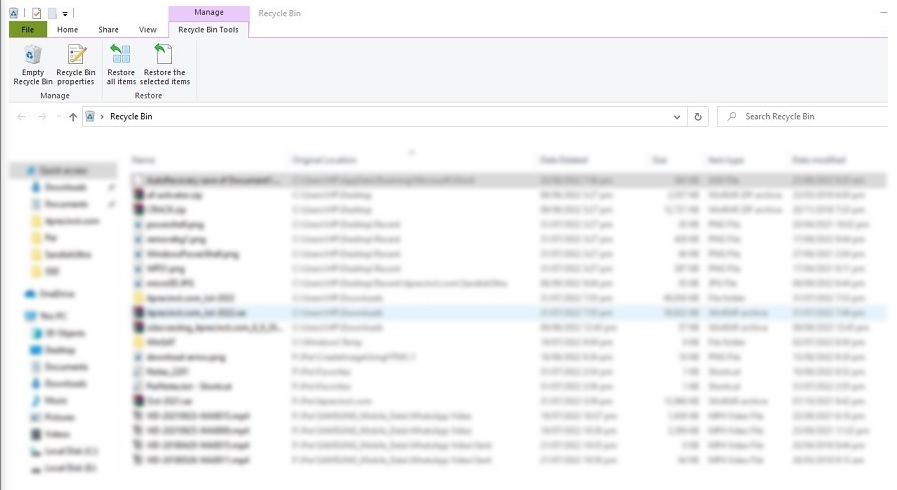
Cleaning up Recycle Bin is usually the very first step towards getting rid of unwanted files. The Recycle Bin stores all the files you’ve deleted from your computer but not yet removed from Recycle Bin. It is a handy tool as you can restore deleted files if you accidentally deleted any. However, if not cleaned frequently, it can accumulate gigabytes of files that eat up your enormous storage space.

Fortunately, cleaning the Recycle Bin is easy. You can select and delete individual files permanently or empty them at once.
There are three ways to open Recycle Bin folder;
1- Open the Recycle Bin from the desktop or
2- type Recycle Bin in the Windows search bar and click on the best option or
3- type shell:RecycleBinFolder into File Explorer’s navigation bar
To delete all files from Recycle Bin, right-click inside the folder and choose Empty Recycle Bin.
Clean up Temporary Files
Temporary files are created automatically to hold information for a file in use. Once the task is complete, these files are deleted. Temp files are stored in the Windows Temp folder (typically C:\Windows\Temp), and you can manually clean up temporary files to free up disk space in Windows.
To clear temporary files
- Press the Win + R to open Run
- Type %temp% in the textbox and click OK.
- In the temporary folder, press Ctrl + A to select all the files and hit the Delete key. Click Skip for any file(s) that appears to be in use and can’t be deleted at this time.
Use Disk Cleanup Tool
The Disk Cleanup tool in Windows is an indispensable one-stop solution to clean up junk files from your computer. It scans and calculates how much space you will be able to free-up on the selected drive. Using Disk Cleanup, you can get rid of junk files such as downloads, temporary Windows installation files, temporary internet files, delivery optimization files, Recycle Bin, and more.
Here’s how to use the Disk Cleanup tool.
- In the Windows search bar, type Disk Cleanup and hit enter to launch the utility.
- Choose a drive you want to clean up and click OK. It will scan the selected drive for junk files from multiple and usual sources.
- Next, the tool will populate the screen with how much space you can free up by deleting different junk files.
- Check the box to select the file type you want to clean up. To view which files will be removed, click View Files.
- Click on Clean up system files to view Temporary Windows installation files and device driver packages.
- Click OK to remove the junk files. Select Delete files to confirm the action.
What to Delete From Disk Cleanup
This isn’t an ultimate guide to the Disk Cleanup tool, so we’re not supposed to cover every option in the menu. Nevertheless, the following options are a common practice to choose for junk removal:
Windows Update Cleanup: This removes old copies of Windows Update files. These are safe to delete in most of the cases, but if you stumble across update-related issues, you should keep them for troubleshooting for a while.
Windows Upgrade Log Files: Similar to above, these are data files that Windows Update keeps to help you sniff out the problems concerning installations and upgrades. You can remove these if you don’t find issues related to these specific areas.
Recycle Bin: Although you can empty the Recycle Bin through its own window, you can also do it here. Just make sure there’s nothing inside it that you may need.
Temporary Files: Temporary files aren’t used for anything in the long term, so you can remove them without worrying.
Language resource files: If you’ve previously downloaded another language or keyboard layout that you don’t use now, this will let you safely remove it.
Clean Up Temporary Files Using the Famous Command Prompt
If your work involves frequently cleaning up temp (temporary) files created by a user or the system, a cmd command can come in handy.
To view temp files, run this command as administrator:
%SystemRoot%\explorer.exe %temp%\To delete temp files, run this command as administrator:
del %temp%\*.*/s/q
Windows.old Folder
Whenever you upgrade your Windows, the system keeps a copy of your old files, in a folder called Windows.old. This folder (typically located at C:\Windows.old) essentially holds everything that made up your previous installation, so that you may restore them in case something didn’t work correctly during current upgrade.
You can use this folder to roll back to the previous version of Windows in case. It’s also possible to open the folder and get a few files from the previous version, if you need them.
Windows automatically removes this folder a short time after the new upgrade finishes, but you can remove this folder yourself if you’re running our of disk space. It won’t delete if you try to go through File Explorer, so to remove it from your drive properly, type Disk Cleanup into the Start Menu and launch the tool.
Click Clean up system files at the bottom of the window and let the utility do another scan. Once that’s done, check Windows Update Cleanup option as well and then let it clean up your selection.
It is highly recommended not to delete any of these files for a substantial period of time at least or until you’re sure that everything is working perfectly now.
Other Potential But Less Important Junk Locations
There are some other folders kept by Windows, which are likely to have no-more-required files. A couple of those are Rempl Folder (typically located at C:\Program Files\rempl) and LiveKernelReports (localted at C:\Windows\LiveKernelReports). Mostly you may find them empty or having them occupied little space but they can also be considered to be removed if you want to perfectly clean up your disk.
Junk files in your computer are likely to negatively impact your system performance. You should be cautious whenever you observe continuously degrading performance of your system, especially slow I/O operations. They may be found to the tune of thousands, scattered in various folders. To get rid of them, you can either clean up junk manually or run Disc Cleanup on periodic basis to keep your system clean and efficient.
To reclaim more disk space, delete unnecessary programs such as bloatware, third-party system cleanup utilities, and other redundant applications from your system.


